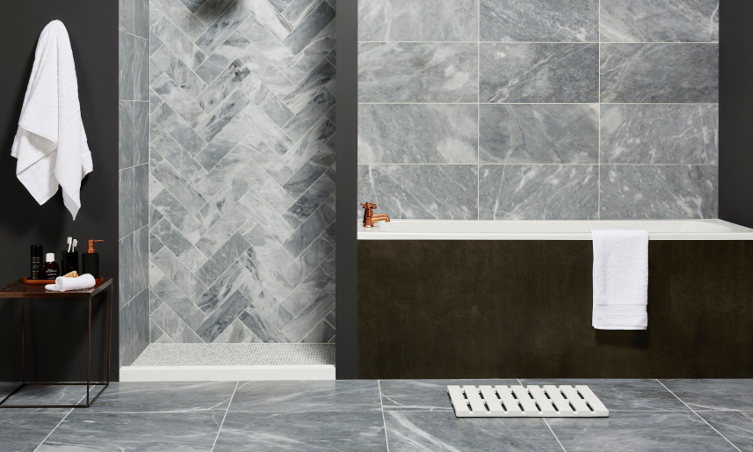
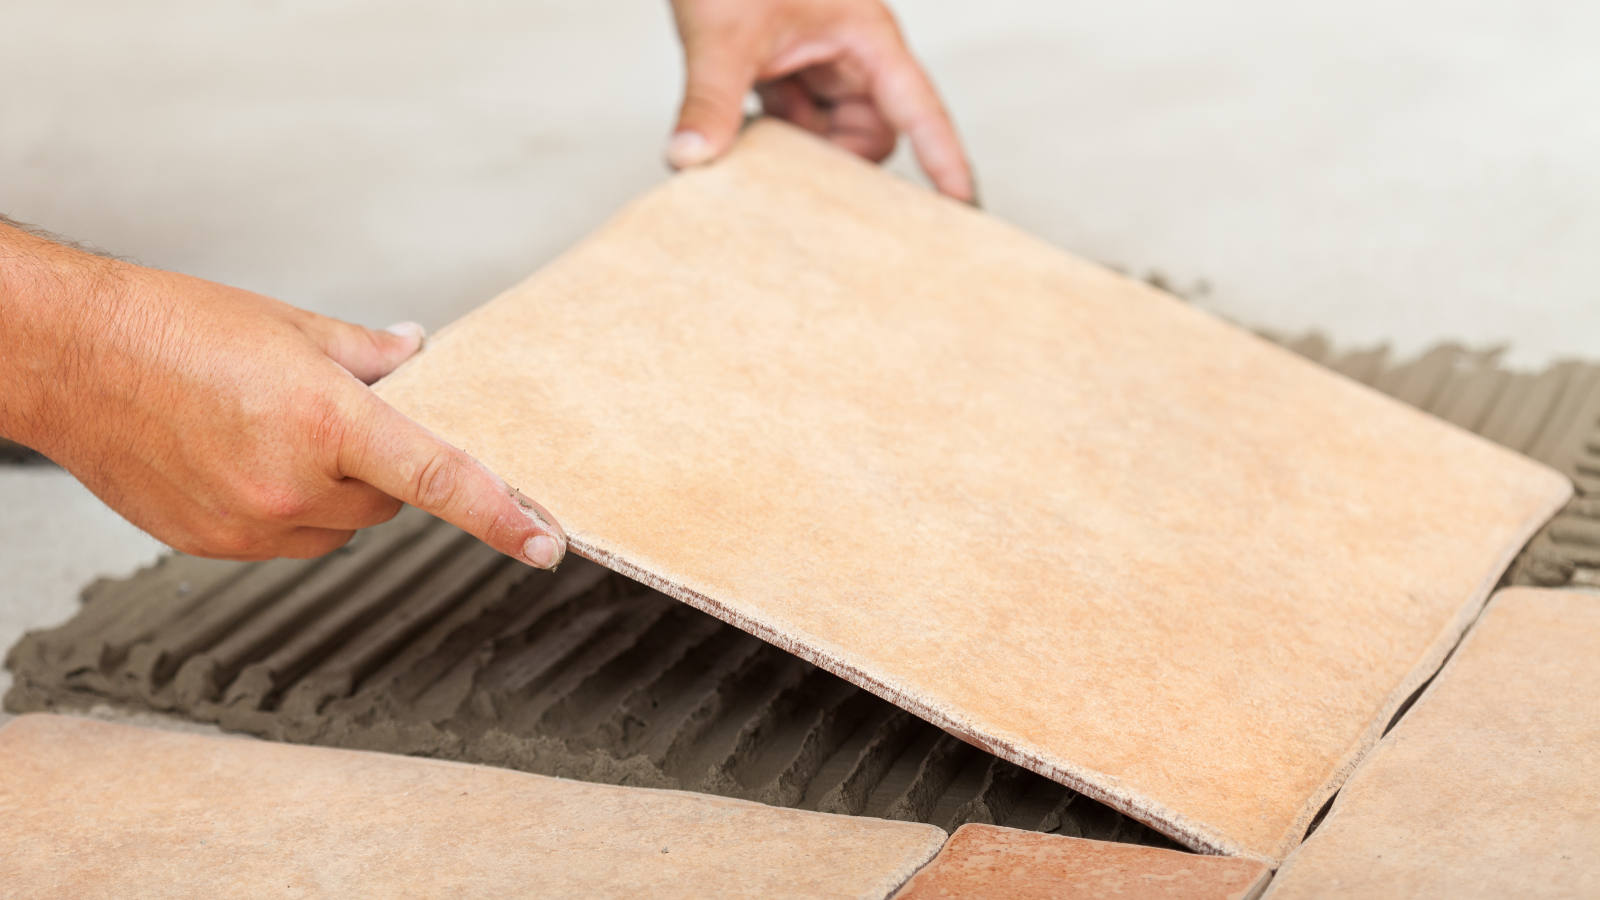
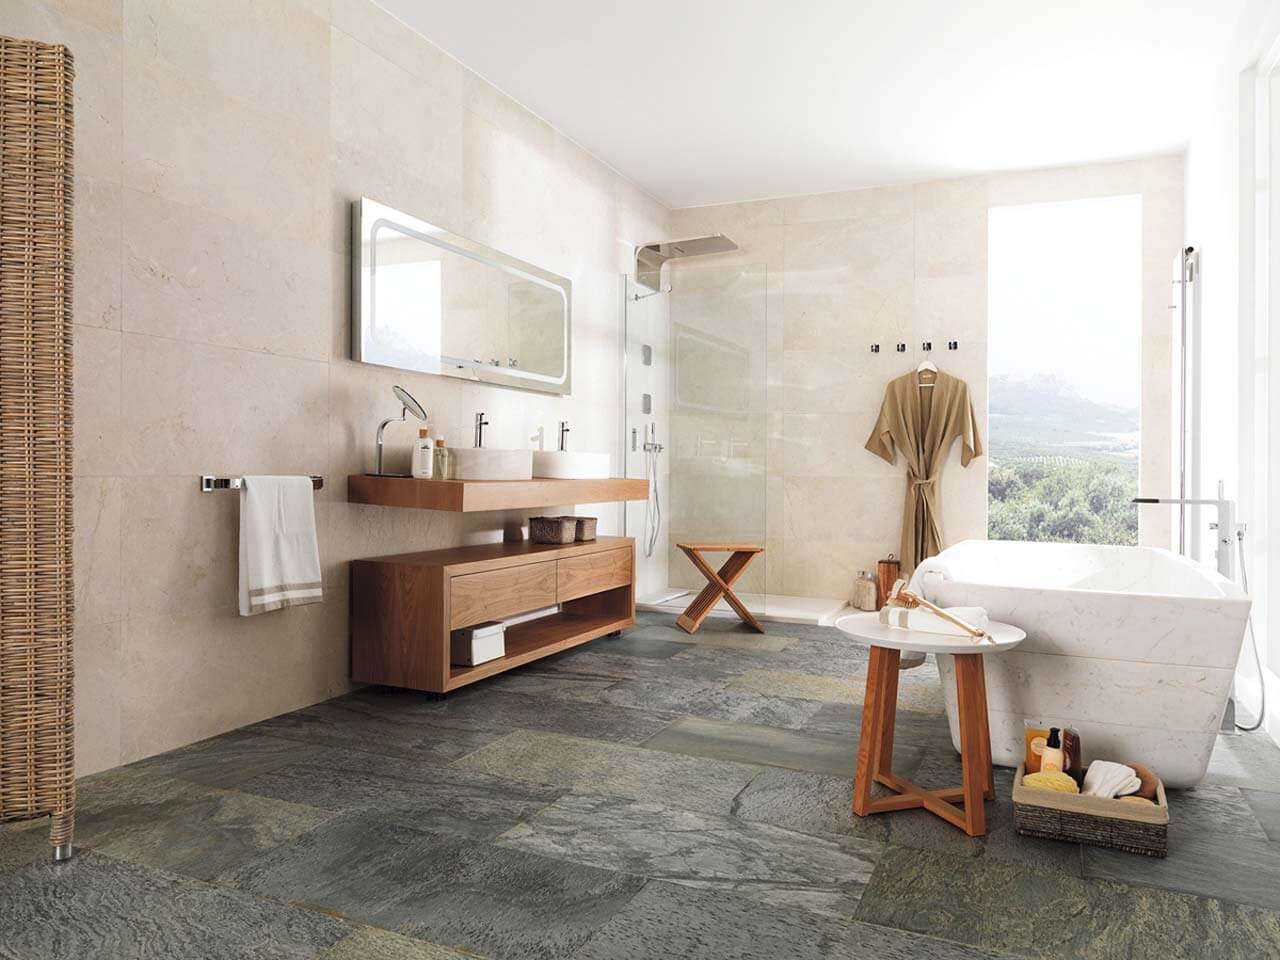
If you’re someone who loves to get involved in arts & crafts activities, you’ve probably got an interest in creating wonderful mosaic or tiling designs with the help of some spare tiles that often go unused. It’s always recommended that you look to get hold of a few spare tiles before a tiling job, as you may require replacements due to damage or you might be unaware of the exact measurements. So if you do have some left over, here are three other uses of natural stone tiles that we’ve come across in the past that are great for those with a creative mind!
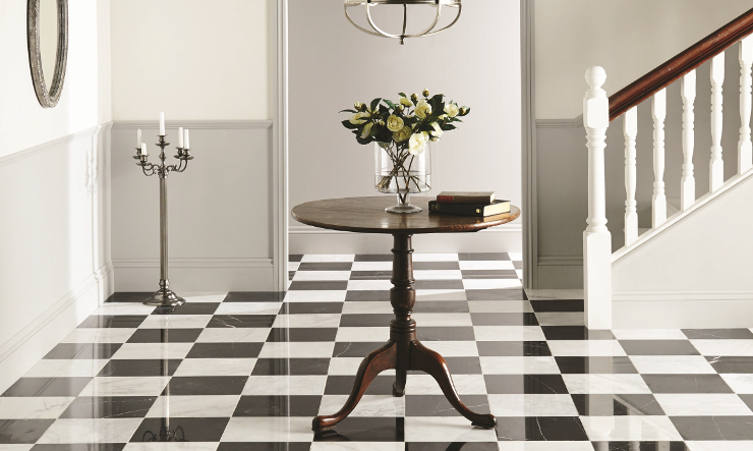
Tabletops

If you’re looking to put a smart tabletop somewhere in your home, such as in the hallway or possibly even the front room, you can improve its interior design potential by decorating the surface with coloured stone tiles. Simply apply your preferred paint to the stone tiles, whether they’re still intact or not, and decorate your tabletop with them!

Necklaces

You can create a stunning piece of jewellery with the help of some spare stone tiles as well. Start by cutting your preferred shape from the tile you have left over and proceed to decorate however way you like! Once you’ve got hold of the finished article, place a hole in the top centre area of the tile so it can be sued with a chain.

Coaster

Are you having trouble with tea or drink stains as a result of having no coasters? Stone tiles are perfect for placing drinks on, especially hot drinks such as tea or coffee. Place a thin, fabric material underneath the tile to act as the surface of your coaster and proceed to decorate the top as you see fit.

Marble Tiles Gallery Image - Original Style Earthworks Castel Marble EW

Marble is an extremely porous material that is often used for interior design purpose thanks to its beautiful range of natural colours and smooth textures. You’re most likely to find marble in your kitchen or bathroom, with marble stone tiles proving to be a particularly popular choice for bathroom floors and walls.

Like any other material, marble requires constant attention if you’re to negate the possibility of stains becoming permanent. Marble is under threat from any kind of stain, from wine spills to cooking oil. If you leave the stain to seep into the material for too long, it can become permanent, so make sure you get rid of any troublesome stains as soon as possible.

If you’ve identified a stain that won’t budge despite your best efforts, consider the following homemade cleaner:

Shred the paper up into small pieces, add a few drips of ammonia and finally add the hydrogen peroxide. Mix the contents together until you get a smooth paste. Once you’ve got the past sorted, add a small amount to the tough stain on the marble surface.

Cover the solution and tape it down, before poking a few holes in for ventilation purposes. Leave it for a couple of days, before removing the contents and giving the surface a final wipe down.

Tile fitting and installation services hero image

We’re set for some great weather in the coming days, so there’s never been a better time to carry out some outdoor DIY. If you’ve always dreamt of relaxing outdoors during the summer whilst reading the paper or enjoying a cold drink, you might benefit from a new patio area. Natural stone tiles are ideal for any new patio, with all kinds of designs available to suit your preferences.  Here are a few tips from us at the Stone Tile Emporium on how to create the perfect garden patio.

Remember that not all tiles are the perfect fit for a garden patio, so it’s important to make sure you choose the right natural stone that’s capable of coping with harsh weather and rainwater. You also need to be aware of how some outdoor patio tiles can easily absorb water and cause cracks during the winter. Therefore, a good choice of material would be porcelain, as it does not absorb water particularly fast.

For strength, granite tiles are a great choice as they are particularly sturdy and won’t get damaged in stormy weather. Naturals tone to avoid would be something like slate, which is softer than granite and may not be able to cope with mixed weather conditions over a long period of time.

When it comes to decorating your new patio, you should try and incorporate as much of the natural beauty of your garden as possible, whether its potted plants or accessories like rocks and shells. You could also create a canopy of foliage to cover an outdoor dining area.

Depending on how big a part you want your new patio to play, you can introduce a whole host of great features, including an outdoor fireplace or perhaps some artificial lighting. Just remember that design trends don’t stick around for long, so keeping to your own preferences is always the best way to go.

HERO Original-Style_Artworks_Royal-Blue-G9002-&-G9901_landscape

There are a number of things you can add to your bathroom once you’ve installed your natural stone tiles for the first time and some of them really help to enhance the natural atmosphere.

On the other hand, you might be interested in decorating your tiled walls with something a little more comical or flamboyant. Either way, here are some great bathroom wall decorations we think work well with natural stone.

Slate tiling is quite a dark, bland form of stone that offers its own unique natural design. However, spicing it up with some attractive decorations can improve the atmosphere of your bathroom with ease.

Jet Black Porcelanosa Wall Tile In Bathroom With Contrasting White Bath Tub

A contemporary mirror would really stand out in such a modernised bathroom style; whilst you could possible even incorporate a few canvas portraits that resemble the surroundings. So if slate is your chosen tile, think modern and contemporary with your decorations.

Another popular choice of stone in bathrooms is limestone tiling, which can be used to create both a contemporary and period-style bathroom space.

If you’ve gone for something a little more classic, why not decorate the walls with a wonderfully Romanesque towel handle, or possible a beautifully designed candle holder? Either way, limestone looks great when you’ve gone wild with bathroom decorations, so designate a style choice and start decorating!

Natural slate flooring in bathroom

Tiling a shower can be quite a challenging procedure if you’ve never done it before, though it shouldn’t stop you from integrating your own specifically chosen natural stone tiles into your bathroom.  Here are some of the tools and materials that you’ll need to start the job:

  • Grout
  • Rubber Float
  • Tile Spacer
  • Sponge
  • Haze Remover
  • Silicone Caulk
  • Trowel
  • Tiles
  • Mortar

With all of these products equipped, you can start focusing on the job itself. Here are some useful tips to follow during the tiling process that will help you get started.

Tip 1 – Strip Shower Area Before Starting

Make sure you’ve stripped the entire space down to just the floor plan, so that’s the ceiling hardware and the walls. It can be challenging to do this and you might be worried about the whole demolition process, so seek professional advice if needs be.

Tip 2 – Marking Out the First Row & Mortar

Use a pencil to mark out where your first row of tiles will be going. Make sure the bottom edge of the tiles isn’t directly touching the surface of the cement board. Try and leave a couple of centimetres between the two. The best mortar to purchase is definitely the premixed option, as the powdered option can be quite difficult to mix yourself.

Tip 3 – Leave Some Time Before Tiling the Rest

Leave around 8-12 hours before continuing with the tiling after the first row. This is so that you’ve got a solidified platform of tiles for the rest to sit on. Al the other rows going upwards from this point will rely on the bottom row, so we advise you not to take any chances here!

Marble Tiles Gallery Image - Original Style Earthworks Viano White polished marble and Nero Polished Marble

We’ve all experienced the ups and downs of carrying out DIY work and installing new stone flooring or wall tiling is probably one of the most common DIY jobs that you’ll come across. There are always questions that need answering when tiling, so we’ve decided to put together a few FAQ’s for those of you who are seeking out some helpful tiling advice or information. Three questions will be answered each week, so keep an eye on our blog over the coming weeks!

Q. Is it safe to drill through my bathroom tile installation?

A. Yes. However, it all comes down to what your tiles are made from. If they are thin and ceramic, a cheap drill bit is all you need to carry out the job. Porcelain tiles on the other hand require small diamond drill bits and can be much more difficult to start.

Q. Can tiles stick to plywood?

A. Plywood is quite a common bathroom material, though it must be thick enough to not be affected by regular changes in temperature. You will need a latex based bonding solution rather than standard PVA solutions to get tiles to stick to Plywood.

Q. Do I have to seal my natural stone tiling?

A. Yes. Natural stone isn’t porous so you’ll have to carry out a grouting procedure. Once the grout has been left to dry, it should become waterproof. Grouting doesn’t have a significant effect on the look of your natural stone tiles, so don’t worry too much about this.

Our tiling FAQ continues into week 2, where we focus on some of the more basic aspects of tiling for those who are carrying out their first ever stone tile project. Sometimes the most obvious questions bring about the most useful results!

Q. How do I work out exactly how many tiles I need?

A. To work out the exact number of tiles you need for your designated tiling space, multiply the height by the width of your wall space to get a measurement in square metres. Then find out the measurement of your chosen individual tiles and divide the surface area of your tiling space by that of your chosen tile.

Q. How can I get a neat and organised row of tiles?

A. It’s important to have tiles of equal size to have a perfectly symmetrical set of wall tiles. Place cut tiles of equal size at both ends of your row, using a spirit level to make sure you have them in line. After marking out the positions on the wall, use a batten to trial your row of tiles, putting spaces in between each one. Mark out the tile positions and gaps along the batten and use this as a gauge.

Q. How can I make sure the spaces between the tiles are even?

A. You can make the space between each tile even by putting plastic tile spacers between each one. Try to make sure that each spacer is pushed as far in as possible so they can also be grouted over. Try not to leave any marks on the tiling in the process.

Accidentally damaging a stone tile can be frustrating to say the least, especially if it interferes with the natural stone tiling effect you’ve worked so hard to achieve. A lot of the time, we ignore damaged tiles and accept the fact that there’s little you can do to repair them. Well in fact, there is something you can do. Here’s how to replace a damaged tile…

–          Loosen the grout around the edges of the damaged tile using a grout remover. Once you’ve done this you can start to rake out the rest of the grout.

–          Drilling holes into the central areas of the tile helps to weaken the surface, so use a small ceramic drill bit and drill four holes in a square shape into the tile. You can increase the size of the ceramic drill bit if necessary.

–          Equip yourself with a hammer and chisel and gradually chip away at the central space between the holes you’ve made. This gets rid of the central part of the tile, although you should be careful not to scratch the wall beneath it.

–          From here, use the chisel to get underneath the rest of the tile, moving towards the edges until you’ve removed it entirely.  This is where you need to be careful not to damage the surrounding tiles. Try and get rid of much of the adhesive as possible as well.

–          Check that your replacement tile fits neatly into the new gap and that the adhesive isn’t pushing the tile further out in comparison to the others. Put new adhesive on the replacement tile and position it in the space.

–          Use a flat piece of wood with that is larger in length to the tile to push it into place. Fit new tiles spaces so you can fill in the edges with grout. It’s important to wait for the adhesive to dry before doing this.

If you’ve enjoyed a beautiful natural stone finish throughout your home for some time, whether it be marble stone flooring, slate cladding or limestone wall tiling, there comes a time for many where painting over walls helps to promote a newly introduced interior design scheme.

If you’ve got a similar predicament to deal with, you might be interested to learn about how you could paint over your currently installed stone tiles. There are plenty of natural stone tiles that can be painted over when given the correct treatment, so here’s a quick guide to painting your stone tiles.

Step 1 

The first thing to do is to sand over your tiling as this creates a rough surface that can be easily painted on.

Step 2

Once you’ve achieved a rough finish, you need to clean the wall with a thick scrub brush before making sure the wall is dry.

Step 3

Apply two separate coats of primer before sanding over the tiling so that you get rid of any imperfections. Apply the second coat only after the first has dried completely.

Step 4

Paint over the tiles with two separate layers using a foam roller. Continue to search for imperfections and sand over them if necessary.

Step 5

Your tiling should now be ready for paintwork, so pick your chosen colour preference and start decorating!

Glass and stone come together to create a unique blend of texture, colour and style that contributes to the contemporary interior design ideas we often see in kitchens and bathrooms today. This particular combination is capable of enhancing both the vigour and relaxation of any average space. With the decorative addition of stone and glass mosaics in your home, you are sure to achieve the major artistic statement you’re looking to portray. Here are a couple of ways to bring glass and stone together in your home.

Example 1 – Liven Up Your Bathroom

If you use some dazzling glass mosaics on the walls in your bathroom and compliment them with stylish stone flooring, you can create a stunning contemporary interior that offers a range of qualities, from the sparkling nature of the glass to the natural effects of the tiling. You can also immerse yourself in an abundance of natural light thanks to the reflective qualities of the glass.

Example 2 – Mix Up the Shapes and Sizes of Your Tiles

Glass tiles come in all different shapes and colours, which is why you can use them to add aesthetic appeal to any tiled or painted wall. An earth-toned glass mosaic finish with the addition of clear, beige or creamy tiling creates a hugely appealing contrast of colours and finishes. Mosaic tiling on the floors compliment this outstanding wall design and you can create a distinctive look by going for a number of different colours.

Get a Quote

Contact Us

Please get in touch using the form below

"*" indicates required fields

Download our natural stone tile guideClick Here