Our Spring Sale finishes on bank holiday Monday, so get down here and get your orders in before you miss out on our 10% off all tiles offer.
you can find us at; www.thestonetileemporium.com

 Price match guarantee We will price match any price
Our Spring Sale finishes on bank holiday Monday, so get down here and get your orders in before you miss out on our 10% off all tiles offer.
you can find us at; www.thestonetileemporium.com
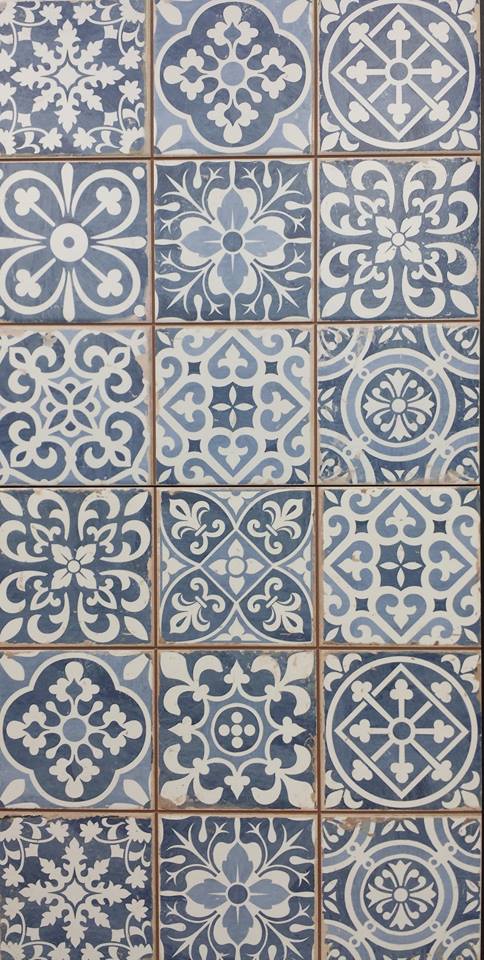
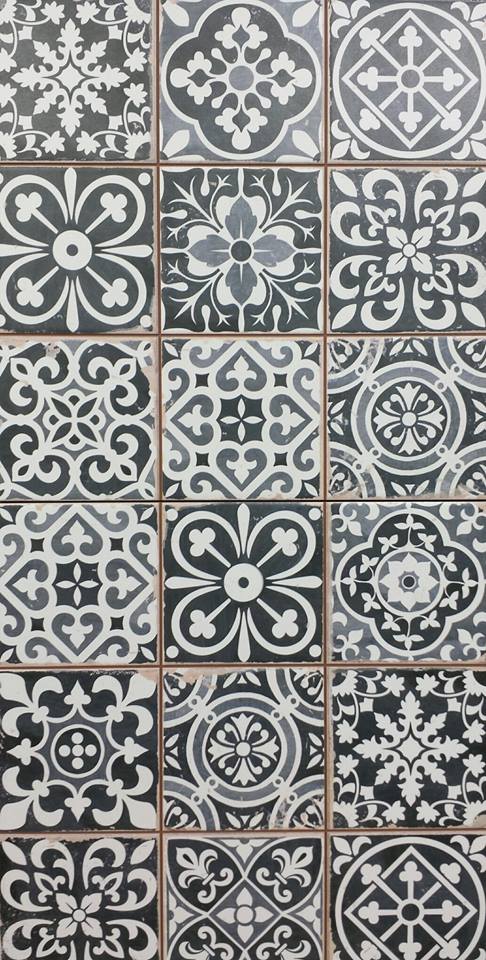
We have just increased our range of ceramic Moroccan style tiles to include these beauties! Our ranges are growing by the week, so make sure you check our Facebook page and blog to keep up to date with our new products.
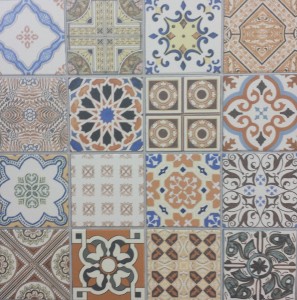

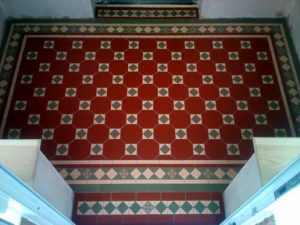
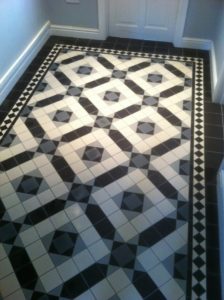
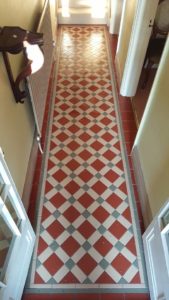
Our range is ever growing. We have now included these Marrakesh style ‘multiple tile effect’ tiles in black and blue.
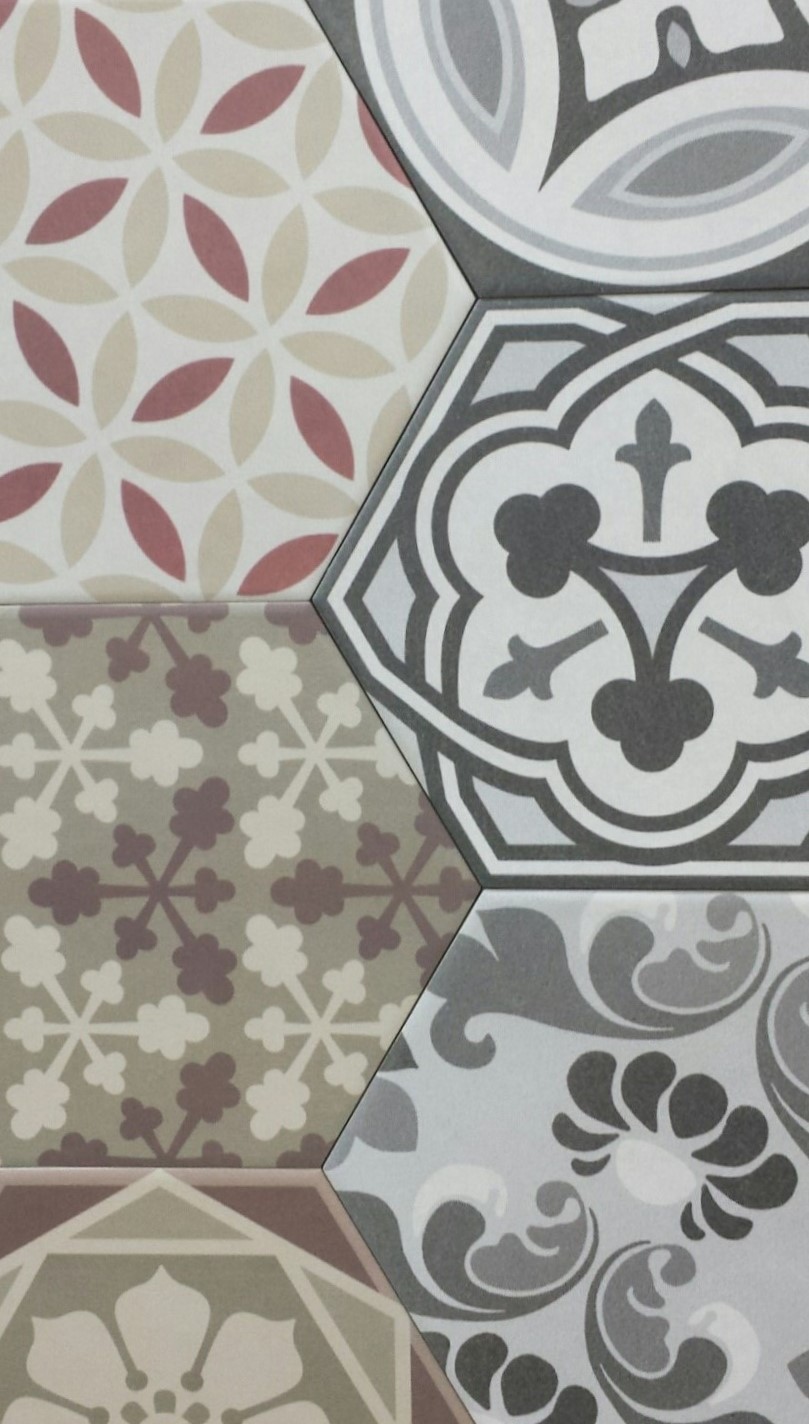
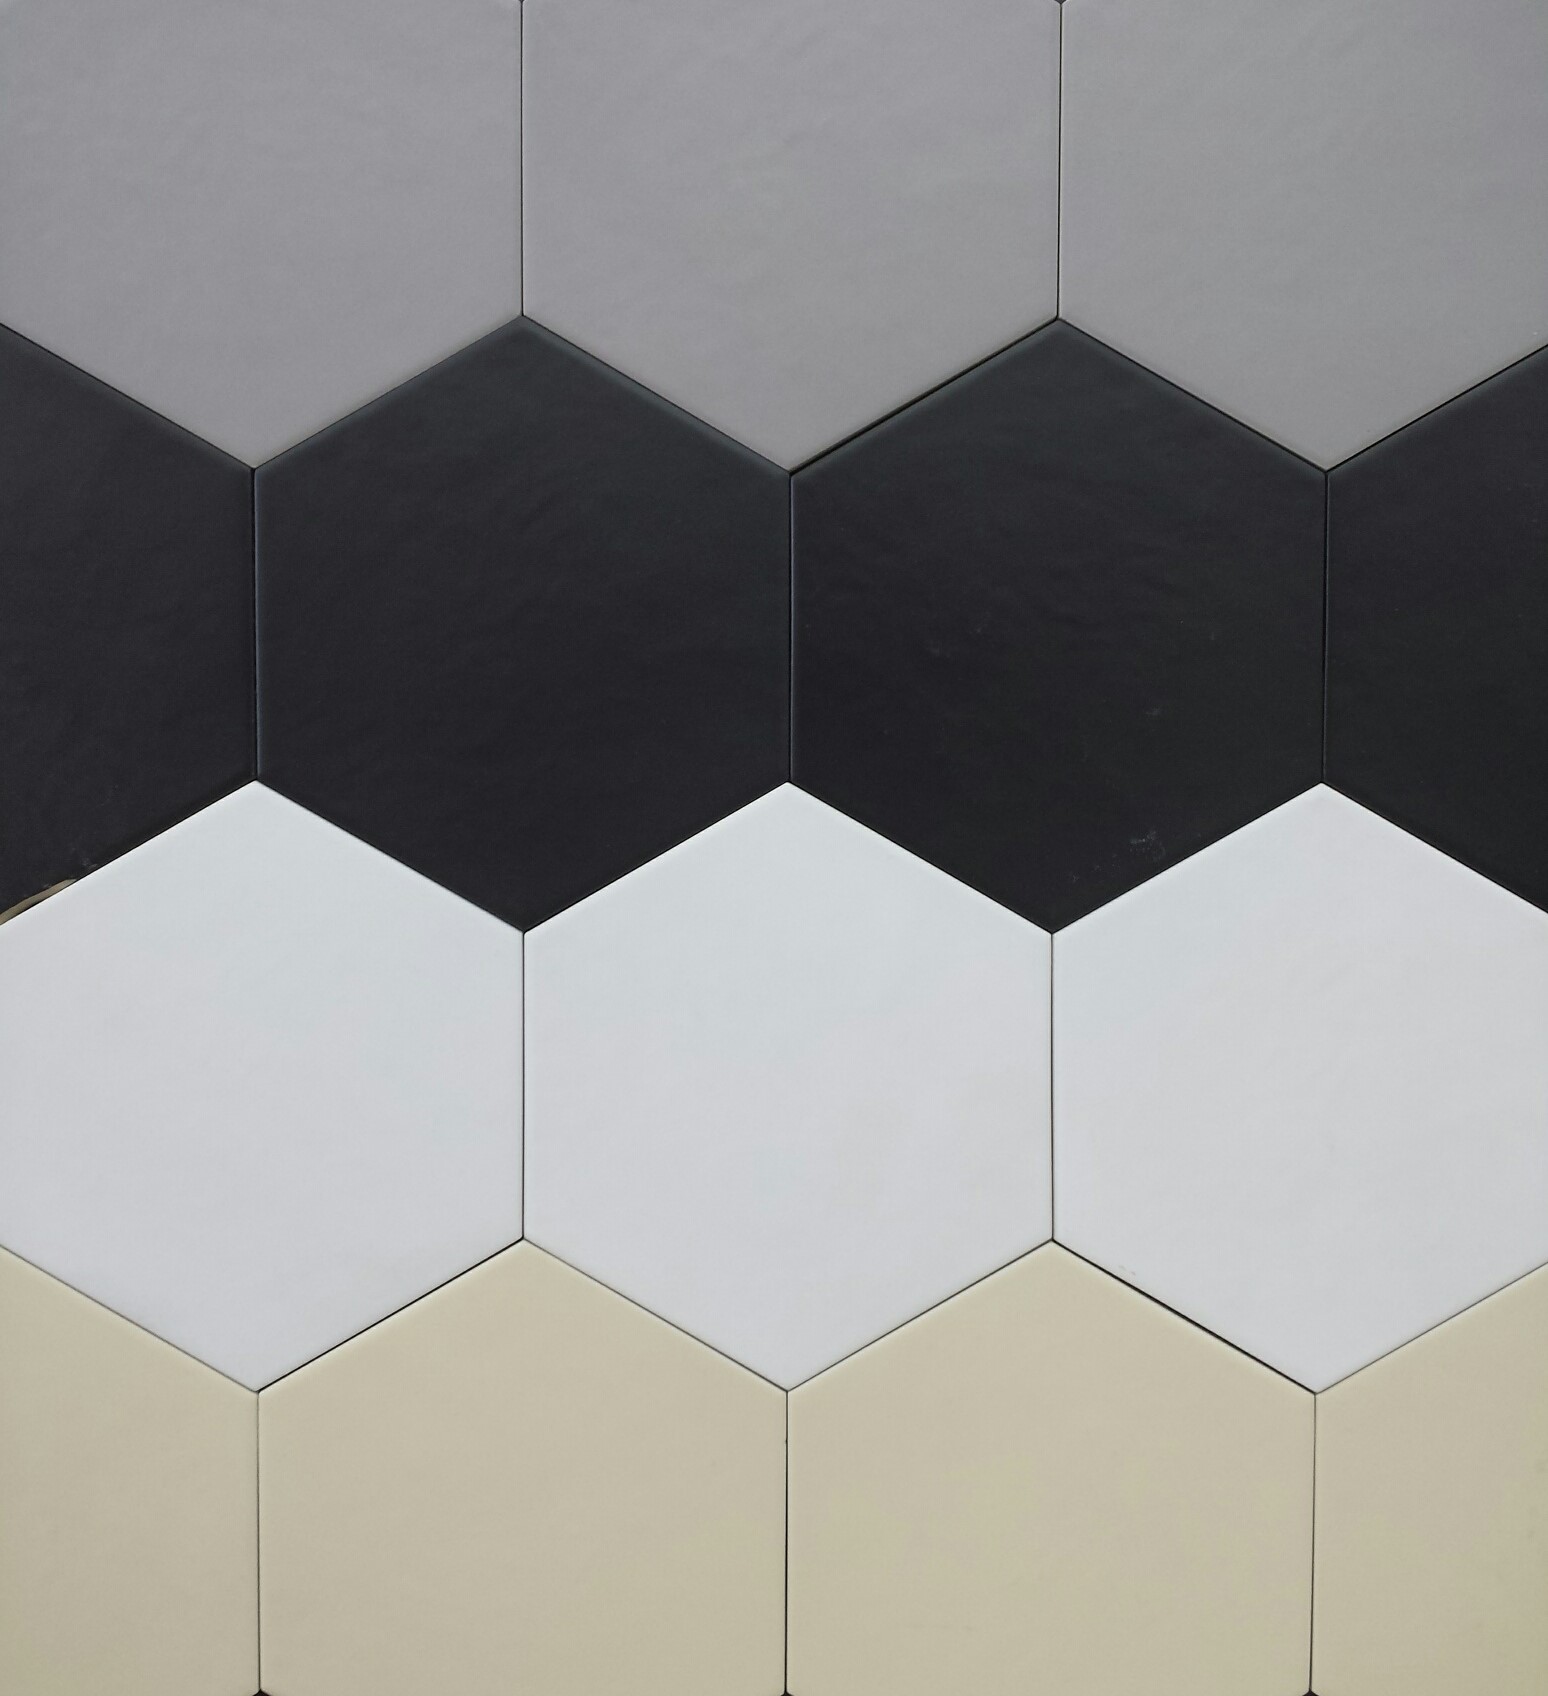
We have recently added these porcelain, hexagonal wall and floor tiles to our showroom, perfect for bathrooms or contemporary kitchens.
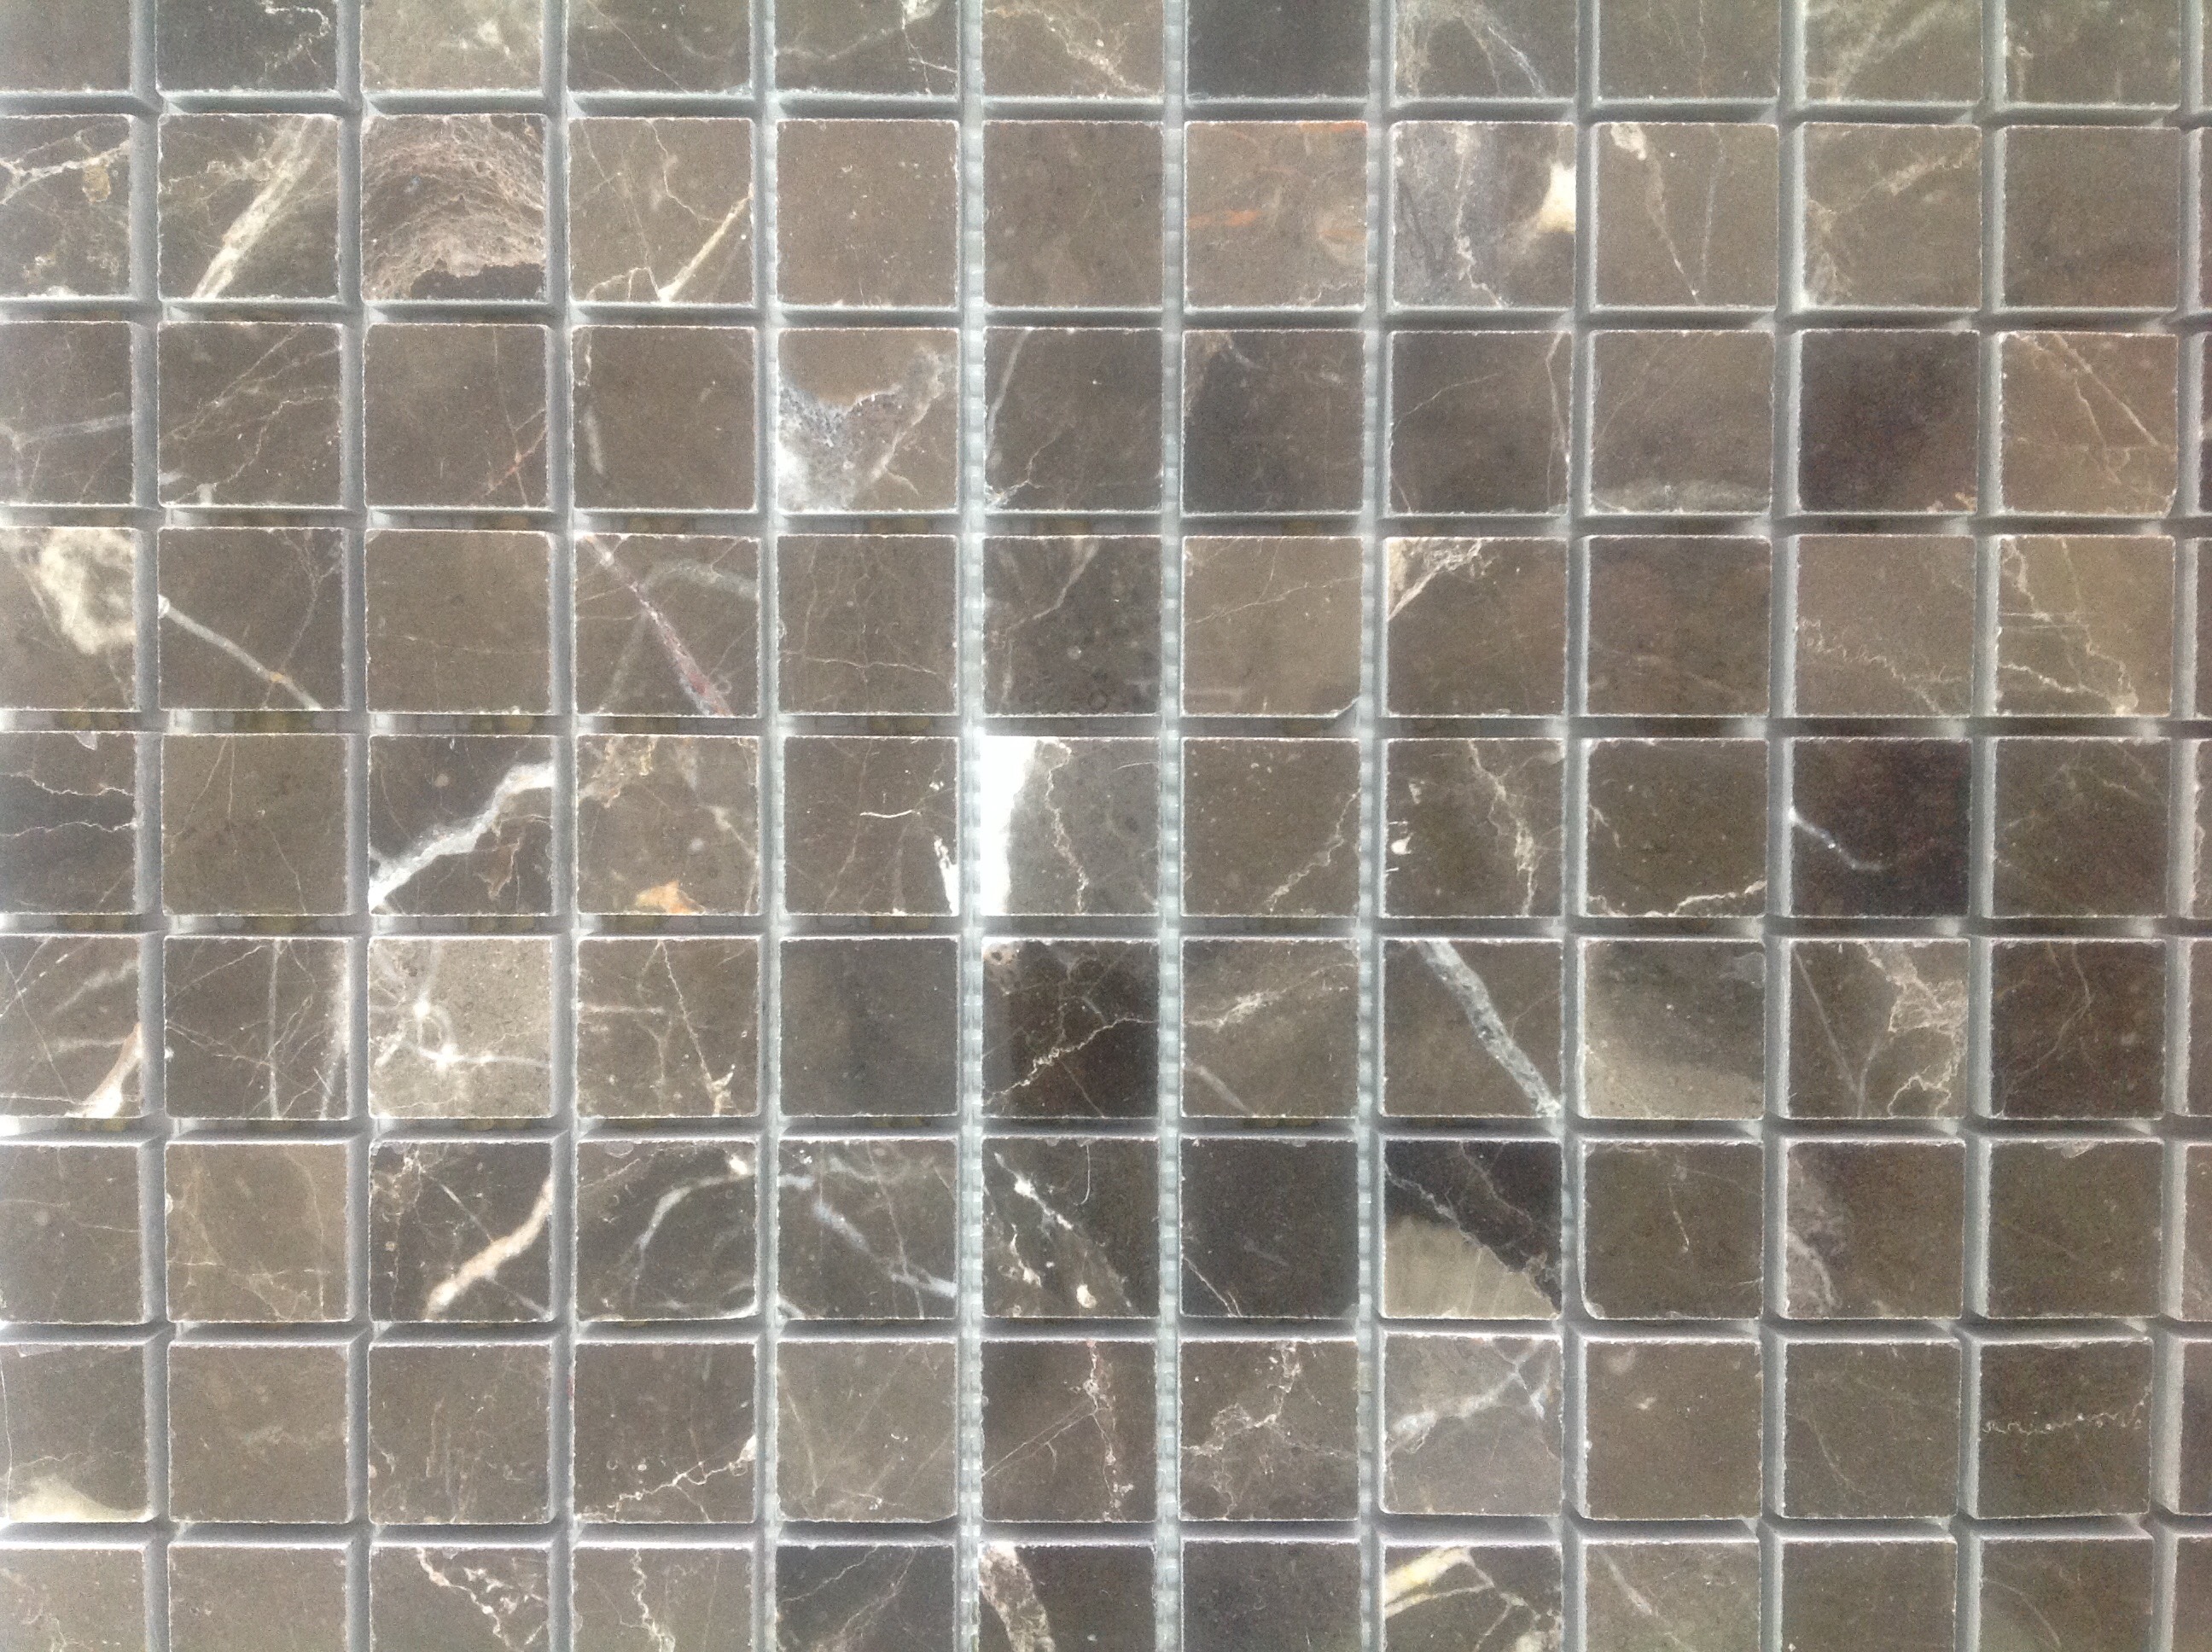
These are just a few examples of our natural marble stone mosaics and are fine examples of Dark Emprador, Italian Carrara and Marquina marbles respectively. Call in to our shop or visit our showroom for more information on these tiles as well as anything else you may be interested in.
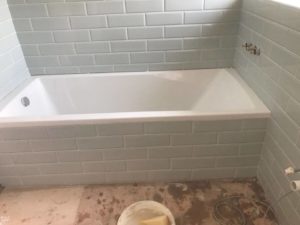
These ceramic Brighton wall and floor tiles are perfect for a bathroom wall feature wall or a kitchen splash back due to their clean elegance and easy wipe surfaces.



If you’ve recently installed a new patio in time for the summer, you might have to soon put up with weeds attempting to surface through the small gaps often created between stone tiling. In fact, weeds are actually a year-round issue that can gradually get worse if you don’t deal with them.
If you don’t fancy the idea of taking up your natural stone tiling again to cope with the problem, here are a few tips for using standard weed killers to get the maximum effect!
The best time to apply any weed killing solution that you purchase is in the spring, which is when the vast majority of weeds are already at the largest and there are little to no seeds on the surface. If you’re in the middle of summer already, you can still apply weed killing solutions to get rid of weeds, but it may not prevent them from coming back.
Rain is great for helping plants grow and weeds rely on them as much as any other species. However, rain is also capable of washing away any weed killing solution you’ve applied within a few hours, so choose a dry, warm day to use weed killers.
Weed killers attack the top half of growth, so digging around might actually stop the process from working effectively. Whilst you might feel like tearing weeds out of the ground every time they appear, it’s much better to let weed killers do their thing.
Follow these guidelines and you’re certain to have weed-free natural stone patio ready for the summer in no time!
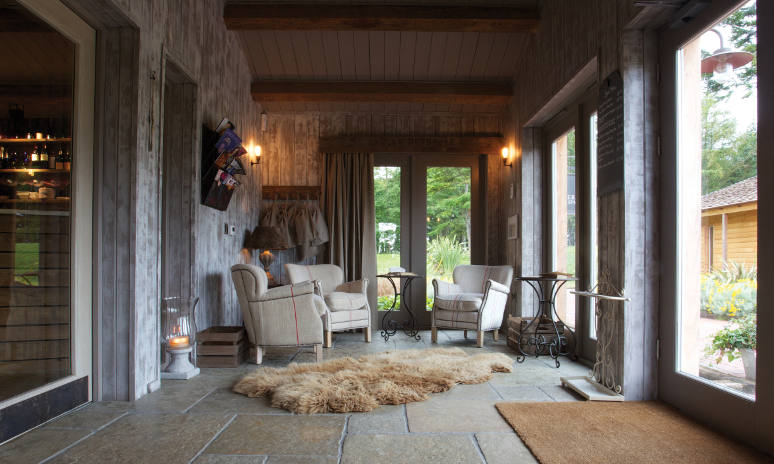
We thought it would be a good idea to remind you of some of the benefits of having natural stone tiles as part of your interior design plan, especially as the summer holidays often go hand in hand with various household construction projects. If you’ve considered making the most of our vast natural stone range here at the Stone Tile Emporium for parts of your property, here are some of the reasons why it’s such a popular alternative to other forms of flooring.
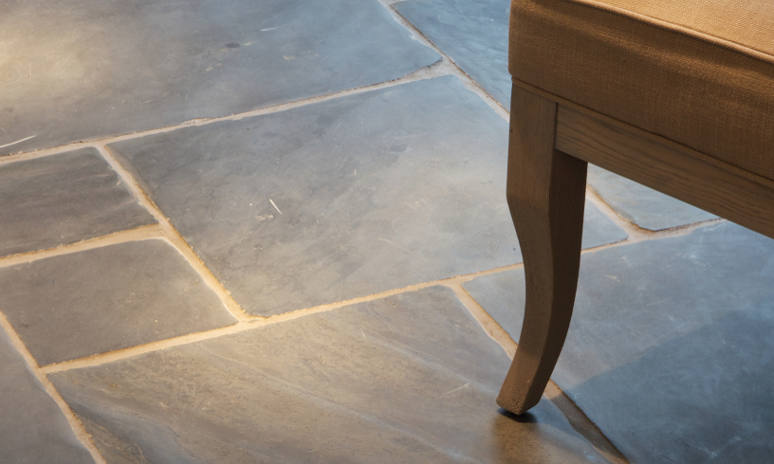
Stone Tiles offer a wide variety of different styles and finishes and promote a unique elegance and luxury which can’t be replicated by any other type of tiling or flooring. Stone tiling is different every time, so you also know that no one else in the world has the style you’ve gone for! It is a classy, high quality alternative to carpets and wooden flooring, whilst it also has a historic demeanour with various fossils shaped over millions of years often still visible in the stone.
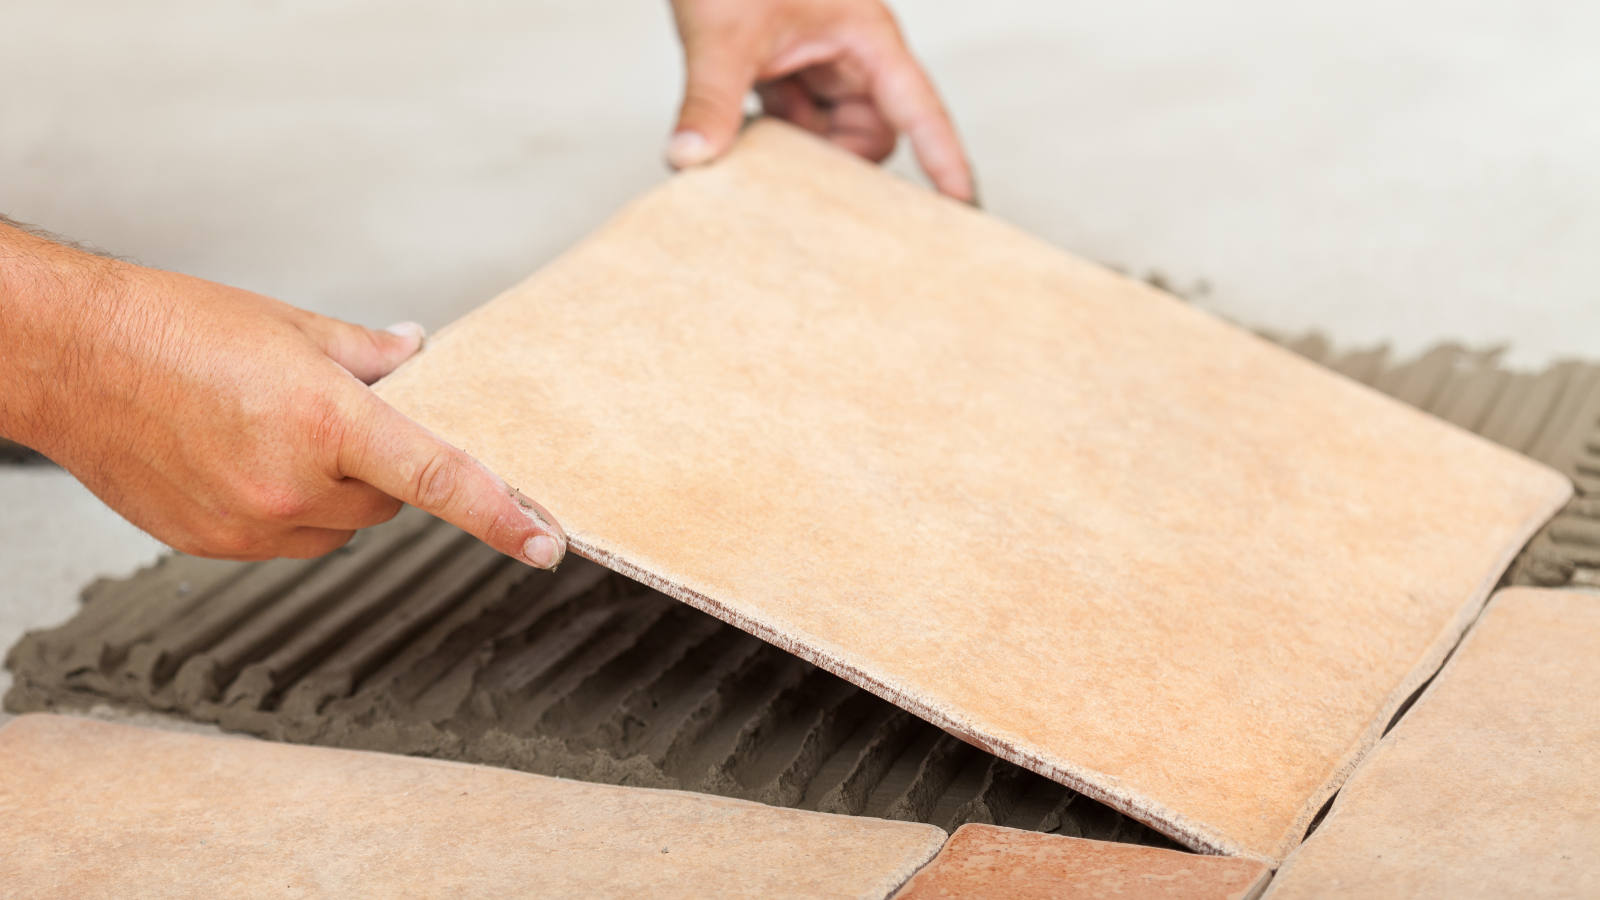
Stone Tiles need to be sealed before and after their installation. Once you do this, you don’t have to treat them again for up to two years. They are extremely easy to look after and the sealing procedure isn’t as difficult as it sounds either.
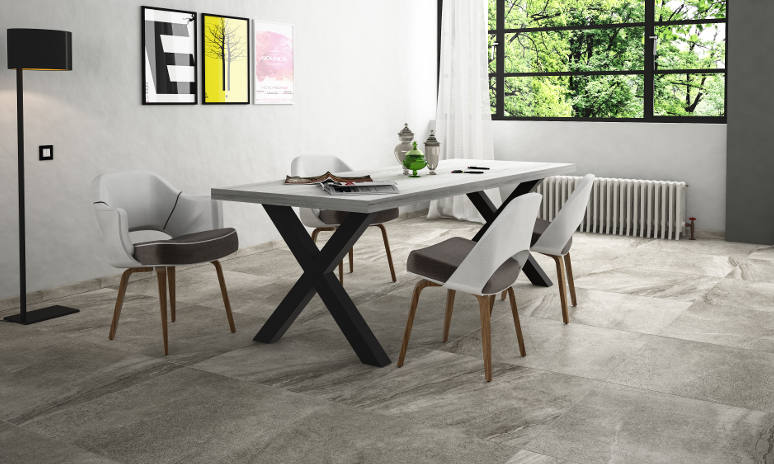
Stone Tiles are great all year round as they can help cope with both the hotter and colder seasons. However, Stone Tiles create a sense of warmth wherever they are used, so during the winter with the addition of a warm, cosy fire, you’ll certainly feel a lot more comfortable surrounded by some beautiful stone tiles.
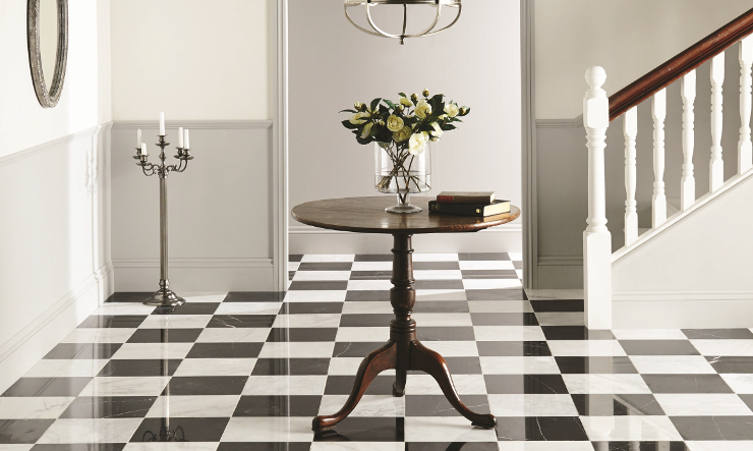
We’ve all experienced the ups and downs of carrying out DIY work and installing new stone flooring or wall tiling is probably one of the most common DIY jobs that you’ll come across. There are always questions that need answering when tiling, so we’ve decided to put together a few FAQ’s for those of you who are seeking out some helpful tiling advice or information. Three questions will be answered each week, so keep an eye on our blog over the coming weeks!
A. Yes. However, it all comes down to what your tiles are made from. If they are thin and ceramic, a cheap drill bit is all you need to carry out the job. Porcelain tiles on the other hand require small diamond drill bits and can be much more difficult to start.
A. Plywood is quite a common bathroom material, though it must be thick enough to not be affected by regular changes in temperature. You will need a latex based bonding solution rather than standard PVA solutions to get tiles to stick to Plywood.
A. Yes. Natural stone isn’t porous so you’ll have to carry out a grouting procedure. Once the grout has been left to dry, it should become waterproof. Grouting doesn’t have a significant effect on the look of your natural stone tiles, so don’t worry too much about this.
Our tiling FAQ continues into week 2, where we focus on some of the more basic aspects of tiling for those who are carrying out their first ever stone tile project. Sometimes the most obvious questions bring about the most useful results!
A. To work out the exact number of tiles you need for your designated tiling space, multiply the height by the width of your wall space to get a measurement in square metres. Then find out the measurement of your chosen individual tiles and divide the surface area of your tiling space by that of your chosen tile.
A. It’s important to have tiles of equal size to have a perfectly symmetrical set of wall tiles. Place cut tiles of equal size at both ends of your row, using a spirit level to make sure you have them in line. After marking out the positions on the wall, use a batten to trial your row of tiles, putting spaces in between each one. Mark out the tile positions and gaps along the batten and use this as a gauge.
A. You can make the space between each tile even by putting plastic tile spacers between each one. Try to make sure that each spacer is pushed as far in as possible so they can also be grouted over. Try not to leave any marks on the tiling in the process.