
Our tiling FAQ continues into week 2, where we focus on some of the more basic aspects of tiling for those who are carrying out their first ever stone tile project. Sometimes the most obvious questions bring about the most useful results!

Q. How do I work out exactly how many tiles I need?

A. To work out the exact number of tiles you need for your designated tiling space, multiply the height by the width of your wall space to get a measurement in square metres. Then find out the measurement of your chosen individual tiles and divide the surface area of your tiling space by that of your chosen tile.

Q. How can I get a neat and organised row of tiles?

A. It’s important to have tiles of equal size to have a perfectly symmetrical set of wall tiles. Place cut tiles of equal size at both ends of your row, using a spirit level to make sure you have them in line. After marking out the positions on the wall, use a batten to trial your row of tiles, putting spaces in between each one. Mark out the tile positions and gaps along the batten and use this as a gauge.

Q. How can I make sure the spaces between the tiles are even?

A. You can make the space between each tile even by putting plastic tile spacers between each one. Try to make sure that each spacer is pushed as far in as possible so they can also be grouted over. Try not to leave any marks on the tiling in the process.
Accidentally damaging a stone tile can be frustrating to say the least, especially if it interferes with the natural stone tiling effect you’ve worked so hard to achieve. A lot of the time, we ignore damaged tiles and accept the fact that there’s little you can do to repair them. Well in fact, there is something you can do. Here’s how to replace a damaged tile…

–          Loosen the grout around the edges of the damaged tile using a grout remover. Once you’ve done this you can start to rake out the rest of the grout.

–          Drilling holes into the central areas of the tile helps to weaken the surface, so use a small ceramic drill bit and drill four holes in a square shape into the tile. You can increase the size of the ceramic drill bit if necessary.

–          Equip yourself with a hammer and chisel and gradually chip away at the central space between the holes you’ve made. This gets rid of the central part of the tile, although you should be careful not to scratch the wall beneath it.

–          From here, use the chisel to get underneath the rest of the tile, moving towards the edges until you’ve removed it entirely.  This is where you need to be careful not to damage the surrounding tiles. Try and get rid of much of the adhesive as possible as well.

–          Check that your replacement tile fits neatly into the new gap and that the adhesive isn’t pushing the tile further out in comparison to the others. Put new adhesive on the replacement tile and position it in the space.

–          Use a flat piece of wood with that is larger in length to the tile to push it into place. Fit new tiles spaces so you can fill in the edges with grout. It’s important to wait for the adhesive to dry before doing this.

We’re lucky enough to work in an industry here at the Stone Tile Emporium that provides us with all kinds of questions regarding the origin of natural stone and its characteristics.

It’s fascinating to learn more about the origin of natural stone, especially when you consider that the majority of stone flooring is the result of millions of years of compression beneath the earth’s surface.

For example, the colour in natural stone tiles derives from all kinds of organic matter and minerals. So how exactly does natural stone get its distinct colour and pattern variations?

The colour of natural stone is dependent on the minerals and organic matter present. For instance, red marble is given its colour from a high presence of iron, whilst green marble gets its colour from serpentine.

You can easily identify various minerals in natural stone by carrying out some research on the specific colours you get from all the different minerals present in stone. This can help you locate the perfect colour for your interior design plan.

So what should you know about minerals in order to maintain a tiles natural look? There are some stone tiles that gradually fade over time when exposed to sunlight, such as marble tiling.

Marble is sensitive to ultraviolet light and will subsequently lose its deep, shiny dark colour over time. You can bring the colour back by polishing or honing the stone every now and then.

Stone cladding doesn’t just exist to provide the exterior parts of a property with a fresh, attractive design feature. In fact, there are a number of reasons why stone cladding could be the answer to your natural stone tiles dilemma.


Here’s why so many others around the country are installing stone cladding with the help of the Stone Tile Emporium:

  • Stone cladding provides a natural answer to weatherproofing and ventilation as the extra layers cope with ever-changing temperatures and the threat of damp, especially during the winter.
  • Cladding is a low cost alternative to other methods of changing the appearance of your property. If you’re going through a decorative change, stone cladding is a cost-effective, hygienic and attractive way of instantly updating your properties appearance.
  • Cladding is also used in interior design with kitchens, bathrooms and other domestic walls benefiting from the natural feel associated with stone cladding. It’s a worthy alternative to tiling and gives you a little bit more of a natural, eco-friendly atmosphere.
  • Many people who carry out barn or garage conversion struggle to negate the “bolted on” effect, especially when they are changing the style of an outbuilding completely. Stone cladding lets you maintain that continuity with existing walls.
  • Stone cladding disguises any solid wall insulation you might be using. Solid wall insulation could save you a huge amount of money on your fuel bills and you can maintain the appearance of the outside of your property by disguising it with stone cladding.

If you’ve enjoyed a beautiful natural stone finish throughout your home for some time, whether it be marble stone flooring, slate cladding or limestone wall tiling, there comes a time for many where painting over walls helps to promote a newly introduced interior design scheme.

If you’ve got a similar predicament to deal with, you might be interested to learn about how you could paint over your currently installed stone tiles. There are plenty of natural stone tiles that can be painted over when given the correct treatment, so here’s a quick guide to painting your stone tiles.

Step 1 

The first thing to do is to sand over your tiling as this creates a rough surface that can be easily painted on.

Step 2

Once you’ve achieved a rough finish, you need to clean the wall with a thick scrub brush before making sure the wall is dry.

Step 3

Apply two separate coats of primer before sanding over the tiling so that you get rid of any imperfections. Apply the second coat only after the first has dried completely.

Step 4

Paint over the tiles with two separate layers using a foam roller. Continue to search for imperfections and sand over them if necessary.

Step 5

Your tiling should now be ready for paintwork, so pick your chosen colour preference and start decorating!

Glass and stone come together to create a unique blend of texture, colour and style that contributes to the contemporary interior design ideas we often see in kitchens and bathrooms today. This particular combination is capable of enhancing both the vigour and relaxation of any average space. With the decorative addition of stone and glass mosaics in your home, you are sure to achieve the major artistic statement you’re looking to portray. Here are a couple of ways to bring glass and stone together in your home.

Example 1 – Liven Up Your Bathroom

If you use some dazzling glass mosaics on the walls in your bathroom and compliment them with stylish stone flooring, you can create a stunning contemporary interior that offers a range of qualities, from the sparkling nature of the glass to the natural effects of the tiling. You can also immerse yourself in an abundance of natural light thanks to the reflective qualities of the glass.

Example 2 – Mix Up the Shapes and Sizes of Your Tiles

Glass tiles come in all different shapes and colours, which is why you can use them to add aesthetic appeal to any tiled or painted wall. An earth-toned glass mosaic finish with the addition of clear, beige or creamy tiling creates a hugely appealing contrast of colours and finishes. Mosaic tiling on the floors compliment this outstanding wall design and you can create a distinctive look by going for a number of different colours.

Mosaics can offer your garden patio vibrant, complex colours as well as a little something different to your standard patio tiling structure. We’re set to experience some beautiful weather this weekend, so there’s no better time to  start a fun DIY job with stone mosaics.

Not only is it something that will benefit your garden, it’s also an enjoyable activity for the whole family to get involved in. Here’s what you’ll need:


Mosaic Tiles/ Broken-up Tiles

– Pliers

– Diluted Glue

– Grout

– Measuring Tools i.e. sketch, spirit level


 Step 1

Depending on your preferred shape, use a template such as a circular bucket to sketch a design

Step 2

Start placing your natural stone tiles or mosaics onto the paper and glue down when satisfied with your design

Step 3

Place the mosaic template you have made face down in an oiled bucket and pour the mixture of water and cement in afterwards until your each your desired thickness

Step 4

Make sure the surface of the cement mixture is flat and leave to dry for a couple of days

Step 5

After two days, remove the mold with some pliers and you should be left with a beautiful garden mosaic for your patio or garden path!

As we get closer to winter, the opportunities we get to start decorating the outdoors with natural stone start to decline. Instead, you might find yourself carrying out many more interior tiling jobs, whether it’s kitchens, bathrooms, table surfaces or floors.

There are plenty of tiling add-ons to seek out that will further improve your interior tiling jobs during the winter. For example, you might be wondering how you can further enhance the insulating properties of your tiles in preparation for the colder months.

Insulation Boards

This is what most people will turn to if they are keen to improve insulation throughout the property. When laying a natural slate flooring for instance, the insulation board helps to prevent heat loss and saves energy in the long run.

They are usually waterproof and can be used with both walls and floors. Insulation boards work by reflecting heat back up through the tile.

There are also a number of tiling finishes available on the market today that perfectly resemble the specific time of year, including wooden ceramic finishes. Another hugely popular tiling choice during the autumn and winter is slate, which offers durable porcelain material and low maintenance properties.

To learn more about our tiling range and tile fitting services here at the Stone Tile Emporium, call us today on 01737 201125. From tomorrow, you can visit our brand new shop in Bell Street, Reigate and explore our wide range of natural stone tiles and mosaics.

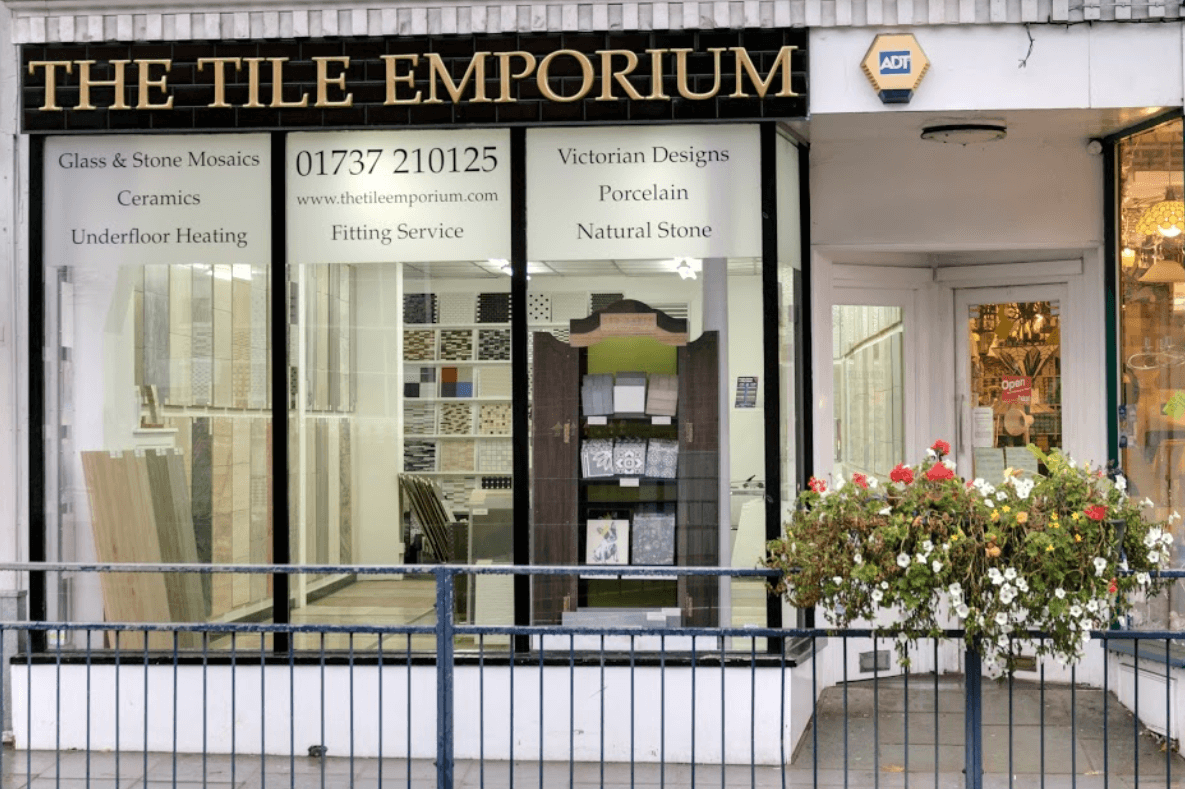
The Stone Tile Emporium Shop Front

The Tile Emporium are proud to be launching our first showroom on Reigate high street as well as our brand new website.

Our Showroom is located on Bell Street, Reigate making it easily accessible with Morrisons car park just across the road.

We have been an established company for over 10 years and have built a large and varied client base including many local building firms, contractors and interior/exterior designers.

We operate from Guildford to Sevenoaks with Reigate being our base. We also work in London and further away depending on the project. Email us with details abut your project and any queries you may have.

Our new blog will be frequently updated with information about our latest products, offers and services as well as advice about looking after and caring for your tiles. Make sure to keep track regularly of our blog for updates. We welcome any feedback and should you have any questions regarding our services you can contact us on 01737 210125 or by filling in our contact to the right.

Christmas is on its way so you might be planning to treat yourself with brand new tiles for your bathroom or kitchen and have your home looking great in preparation for the big day.

If you find yourself in the market for some new tiles or feel you might struggle with the wide variety of textures, styles, themes and materials on offer, here’s a few handy tips to consider before investing in your festive stone tiles.

1. Consider the location of your tiles

Firstly, consider where the tiles are going to be placed and how their texture, colour and style will affect the look of the space. For example, lighter tiles would be ideal for a space that needs to look bigger due to its size and you might need a specific texture if your style preferences are particularly detailed.

Slate provides an excellent natural texture that works wonders for your bathroom, whilst the dark, sleek design of marble tiling can really work in a more contemporary kitchen space.

2. Consider the durability needed

It’s also important to consider the durability of your tiles. Are they capable of lasting a considerably long time without getting damaged? Can they withstand cleaning products for the foreseeable future?

Ultimately, the life of a tile can be daunting depending on where it’s situated but it’s worth considering this important factor when purchasing nonetheless.

3. Think about the long-term

Finally, try and have a long term bathroom plan in mind when buying your tiles. How are your style preferences going to change in the next few years? What sort of bathroom appliances will you be investing in? It’s a good idea to look at some kitchen and bathroom design ideas beforehand so that you can see where your new tiles are likely to lead you.

Don’t forgot to visit the Stone Tile Emporium for an introduction into the wide range of tiling ideas we have to offer!

Best Price Today

Contact Us

Please get in touch using the form below

"*" indicates required fields