Stone cladding doesn’t just exist to provide the exterior parts of a property with a fresh, attractive design feature. In fact, there are a number of reasons why stone cladding could be the answer to your natural stone tiles dilemma.
Here’s why so many others around the country are installing stone cladding with the help of the Stone Tile Emporium:
- Stone cladding provides a natural answer to weatherproofing and ventilation as the extra layers cope with ever-changing temperatures and the threat of damp, especially during the winter.
- Cladding is a low cost alternative to other methods of changing the appearance of your property. If you’re going through a decorative change, stone cladding is a cost-effective, hygienic and attractive way of instantly updating your properties appearance.
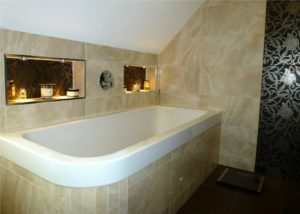
- Cladding is also used in interior design with kitchens, bathrooms and other domestic walls benefiting from the natural feel associated with stone cladding. It’s a worthy alternative to tiling and gives you a little bit more of a natural, eco-friendly atmosphere.
- Many people who carry out barn or garage conversion struggle to negate the “bolted on” effect, especially when they are changing the style of an outbuilding completely. Stone cladding lets you maintain that continuity with existing walls.
- Stone cladding disguises any solid wall insulation you might be using. Solid wall insulation could save you a huge amount of money on your fuel bills and you can maintain the appearance of the outside of your property by disguising it with stone cladding.